How to Install GeneratePress Theme ,GeneratePress is a lightweight, quick, and highly configurable WordPress theme that is extremely popular among website owners and developers most of the peoples who work for approval of adsense uses this theme because it is a adsense friendly and light wighted theme and easy to customize.
Whether you’re creating a blog, a company website, or an e-commerce store, GeneratePress has the functionality you need. In this post, we’ll walk you through the steps of installing and customizing the GeneratePress theme to ensure your website looks precisely how you want it to be.
Introduction to GeneratePress
GeneratePress is a free WordPress theme that focuses on speed, usability, and accessibility. It is designed to be lightweight, making it an excellent choice for those who want a fast-loading website. The theme is also highly customizable, allowing you to tweak almost every aspect of your site without touching a single line of code.
Also Read out About : How to Create a 404 Auto Redirect in WordPress
Why Choose GeneratePress?
- Lightweight and Fast: GeneratePress is known for its minimalistic design, which ensures fast loading times.
- Highly Customizable: With the WordPress Customizer, you can easily change colors, typography, layout, and more.
- Responsive Design: The theme is fully responsive, ensuring your site looks great on all devices.
- SEO Friendly: GeneratePress is built with SEO in mind, helping you rank better in search engines.
- Extensive Documentation: The theme comes with detailed documentation and a supportive community.
How to Install GeneratePress Theme
Step 1: Log in to Your WordPress Dashboard
- First, log in to your WordPress dashboard. You can do this by searching to
yourwebsite.com/wp-adminand entering your username and password.
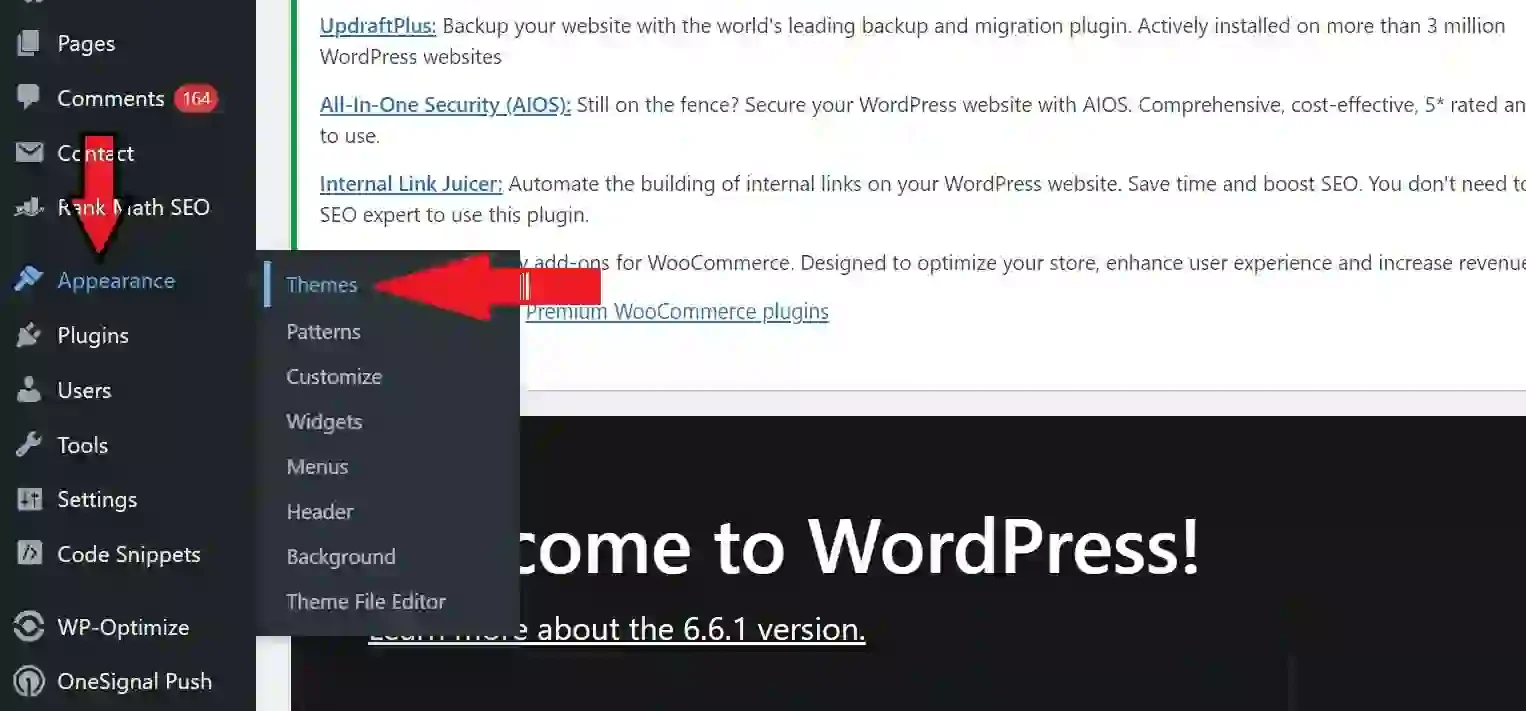
Step 2: Navigate to Themes
Once you’re logged in, go to the left-hand menu and click on “Appearance,” then select “Themes.”
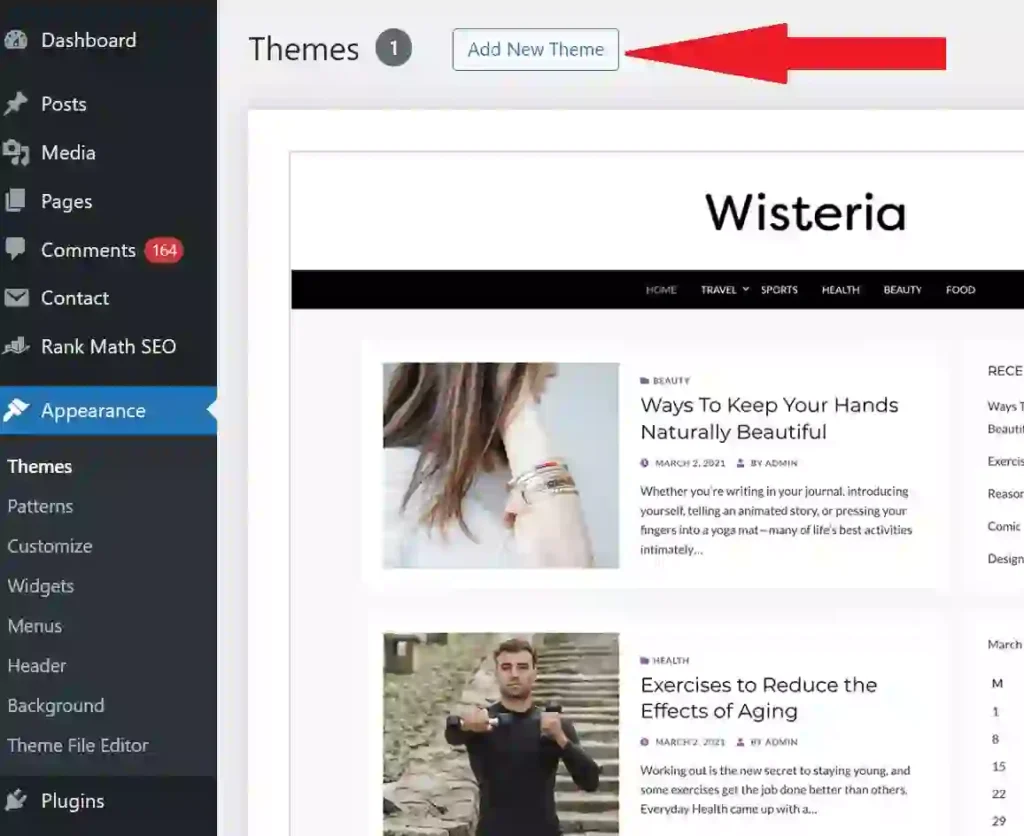
Step 3: Add New Theme
In the Themes section, click on the “Add New” button at the top of the page.
Step 4: Search for GeneratePress
In the search bar, type “GeneratePress” and press Enter. You should see the GeneratePress theme appear in the search results.
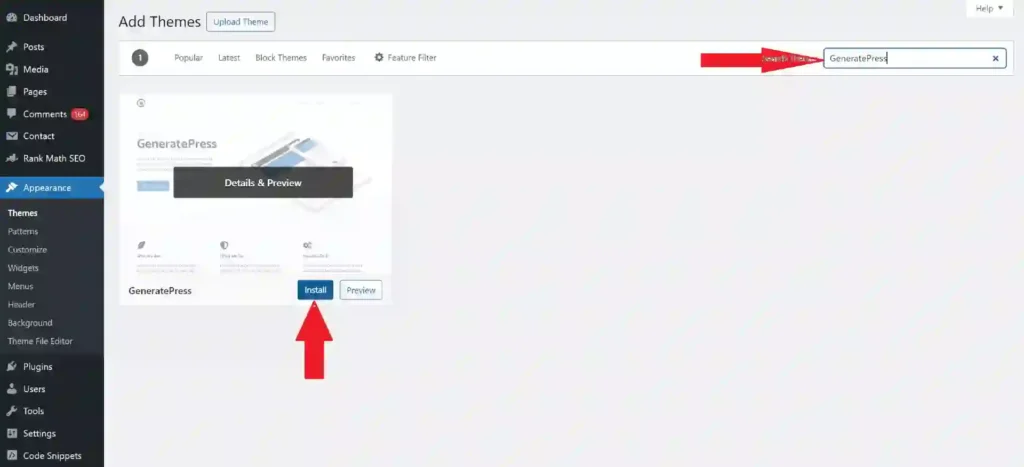
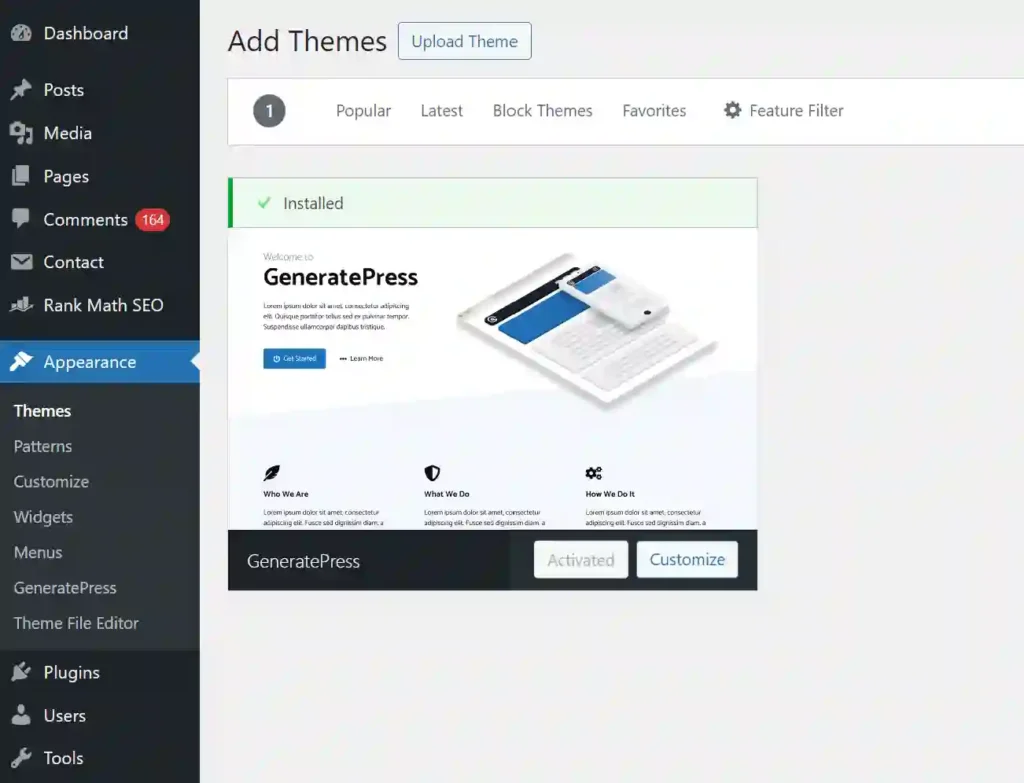
Step 5: Install and Activate
Click the “Install” button next to the GeneratePress theme. Once the installation is complete, click the “Activate” button to make GeneratePress your active theme.
After installing and activating generatepress theme all you wanted to do is to upload a premium version of this theme i am providing below simply download and upload it into plugins section.
How to Customize GeneratePress
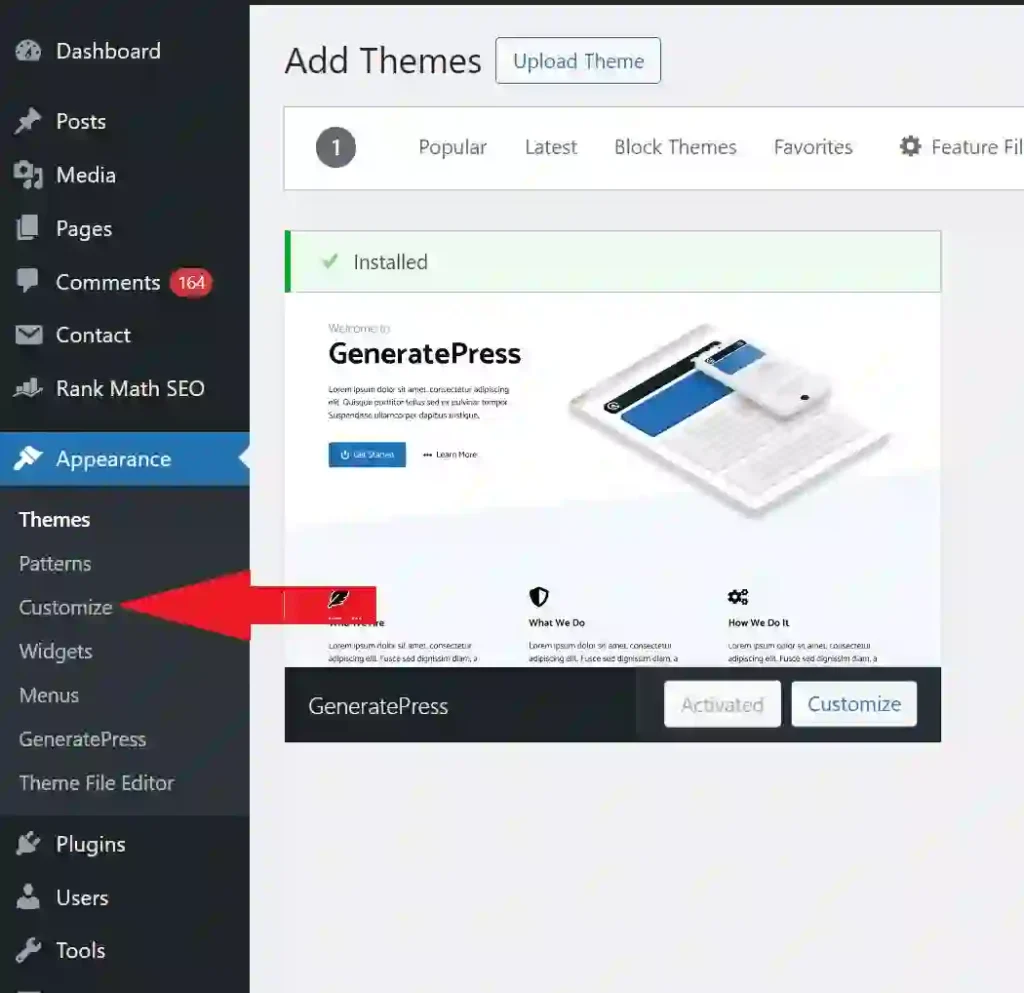
Step 1: Access the Customizer
To start customizing your GeneratePress theme, go to the left-hand menu in your WordPress dashboard and click on “Appearance,” then select “Customize.” This will open the WordPress Customizer, where you can make changes to your theme.
Step 2: Site Identity
- Site Title and Tagline: In the Customizer, click on “Site Identity.” Here, you can set your site title and tagline. You can also upload a site icon (favicon) that will appear in the browser tab.
- Logo: Upload your site logo if you have one. This will replace the site title text in the header.
Step 3: Layout
- Container: Click on “Layout” and then “Container.” Here, you can adjust the width of your content area.
- Header: Under “Layout,” click on “Header.” You can choose the header layout, alignment, and padding.
- Navigation: Customize your primary navigation menu’s layout, position, and styling.
- Sidebar: Choose whether you want a sidebar and its position (left or right).
- Footer: Customize the footer layout, including the number of widget areas.
Step 4: Colors
- Global Colors: Click on “Colors” to set the global color scheme for your site, including background, text, and link colors.
- Header Colors: Customize the colors specifically for the header area.
- Navigation Colors: Set the colors for your navigation menu.
- Sidebar Colors: Adjust the colors for the sidebar.
- Footer Colors: Customize the footer colors.
Step 5: Typography
- Body Typography: Click on “Typography” and then “Body.” Here, you can set the font family, size, weight, and line height for your site’s body text.
- Header Typography: Customize the typography for your headers (H1, H2, H3, etc.).
- Navigation Typography: Set the font family, size, and weight for your navigation menu.
- Sidebar Typography: Adjust the typography for the sidebar.
- Footer Typography: Customize the footer typography.
Step 6: Additional CSS
If you have specific design requirements that are not covered by the Customizer options, you can add custom CSS. Click on “Additional CSS” and enter your custom CSS code.
For example :
/* Example: Change the background color of the header */
.site-header {
    background-color: #333;
}

/* Example: Change the font size of the site title */
.site-title {
    font-size: 2em;
}
FAQS
What is GeneratePress and why should I use it?
How do I install the GeneratePress theme on my WordPress site?
Is GeneratePress a free theme?
How do I add my logo to the GeneratePress theme?
What should I do if I find out an error when using GeneratePress?
Conclusion
Installing and customizing the GeneratePress theme is a simple process that can significantly glow the look and functionality of your WordPress site. With its lightweight design and extensive customization options, GeneratePress is an excellent choice for anyone looking to create a fast, responsive, Google Adsense Friendly and visually appealing website.
By following the steps outlined in this article, you can easily install and customize GeneratePress to suit your specific needs. Whether you’re a beginner or an experienced developer, GeneratePress offers the flexibility and features you need to build a stunning website.